Updated March 2023
Proper arrow fletchings aid in guiding your arrow accurately to its intended target. Learning how to efficiently fletch your own arrows can save you both money and a trip to your local archery shop. Not only is fletching an arrow a skill every archer should know how to do, but it is helpful in keeping a full quiver of arrows at all times. Fletching your own arrows does not have to involve an expensive fletching jig and countless hours of work. A convenient tool that makes fletching arrows quick and easy is an E-Z fletch, such as the Easton E-Z Fletch and the Arizona Carbon E-Z Fletch Mini. This article will explain the step-by-step process for fletching your own arrows with an Easton E-Z fletch tool.
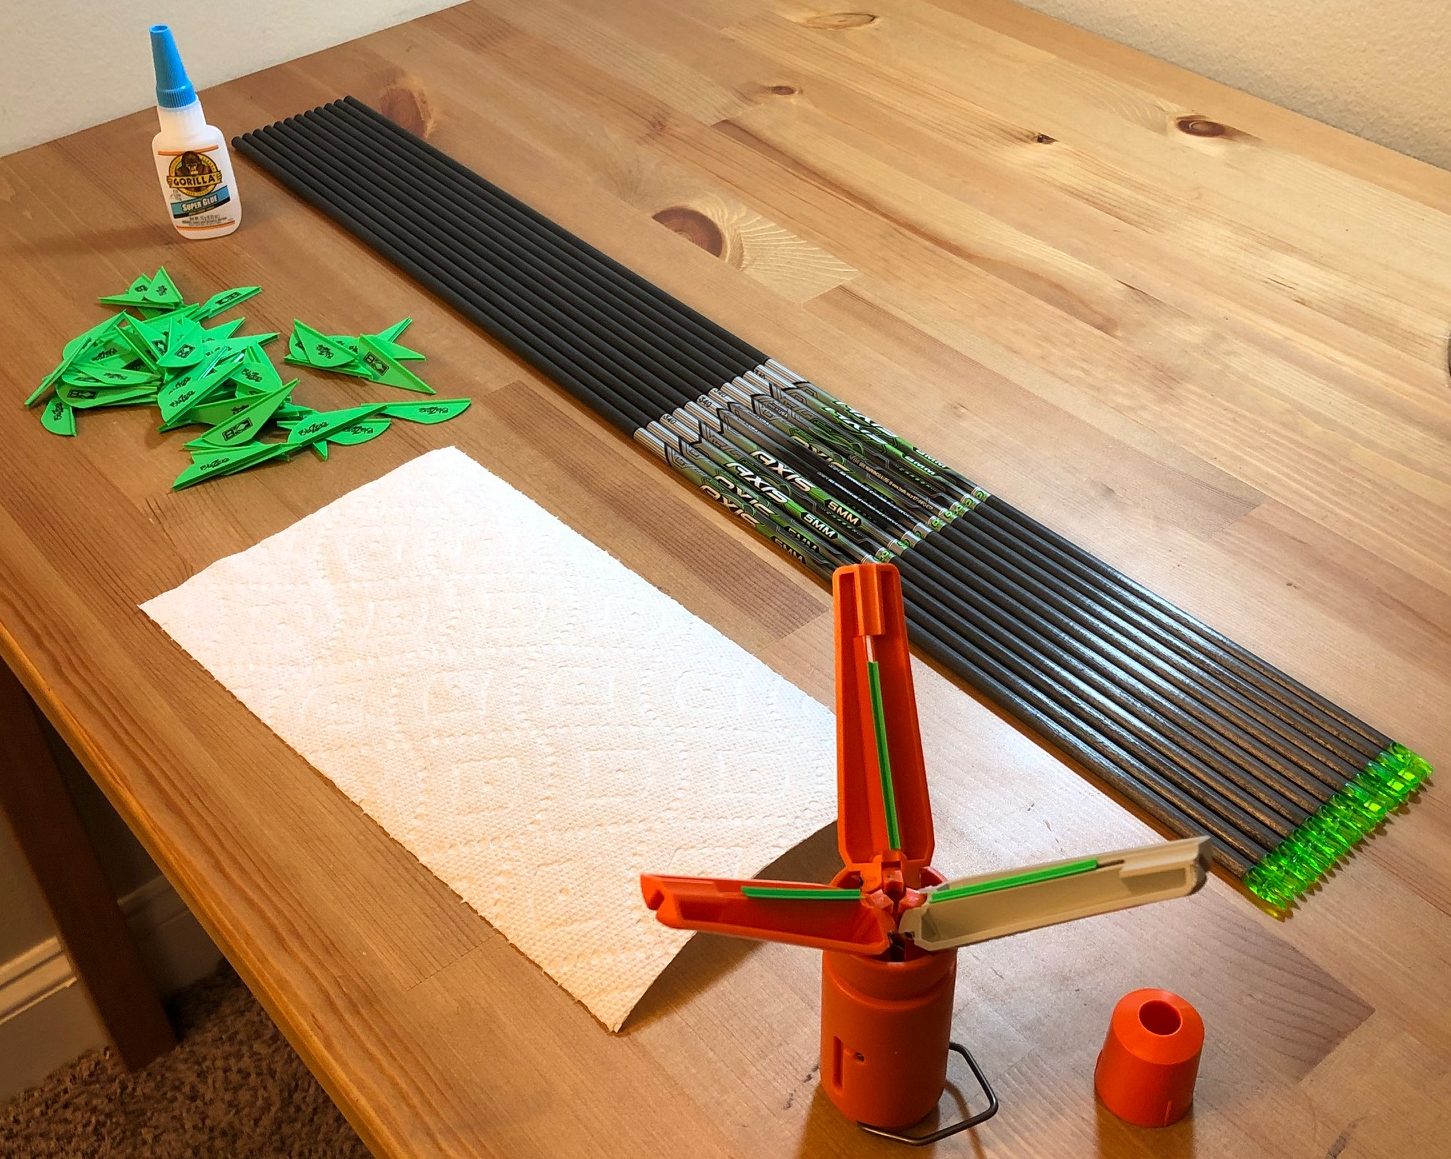
Tools Needed to Fletch Your Own Arrows
- E-Z Fletch Tool
- Bare Arrow Shafts
- 2-inch Vanes
- Fletching Glue (G5 Outdoors Blu-Glu)
- Alcohol
- Towel/Q-tips
Using an E-Z Fletch Tool
E-Z fletch tools costs about $50 and are a good investment that will save you time and money over the long run. On most tools, the arms are interchangeable for different size vanes and fletching configurations (straight, offset, helical, etc.). Most E-Z fletch tools are convenient for carbon arrow with 2-inch Blazer Vanes. E-Z fletch tools also make it easy to customize vane colors, and the fixed arms on the tool ensure identical fletchings on each arrow. Using the EZ fletch method is much faster than using a traditional Bitzenburger jig and saves a considerable amount of time.
Fletching Patterns
When fletching your own arrows, there are three basic fletching patterns:
- Straight – Vanes are straight with the arrow shaft. This results in fast arrow speed, but is less accurate at long distances.
- Offset – Vanes are straight on the arrow shaft, but angled slightly to right or left. This results in increased arrow stability in flight leading to better accuracy at long distances.
- Helical – Vanes are fletched with a slight curve, resembling a boat propeller. This results in increased spin on an arrow, similar to a spiraling football, leading to increased accuracy but slightly slower arrow speed.

How to Fletch Your Own Arrows
Step 1 – Wipe the shaft of the arrow where vanes will be glued with isopropyl alcohol. Also wipe the base of each vane with alcohol using a Q-tip. This removes any oil or other residue from the manufacturing process that can prevent vanes from properly adhering to the arrow shaft.
Step 2 – Open the arms of the E-Z fletch tool and load your three vanes into each arm.
Step 3 – Apply a light bead of glue along the base of each vane.
Step 4 – Seat the nock of the arrow into the groove of the E-Z fletch.
Step 5 – Slowly close the tool and slide on the collar to add pressure. This will hold the vanes on the arrow shaft in the perfect position.
Step 6 – After about 10-15 seconds, the glue should be dry. Unlock the arms by releasing the spring and remove the collar.
Step 7 – Wipe off any excess glue with a rag or Q-tip. Also be sure to wipe off excess glue on arms of tool.
Step 8 – Add a small dot of glue on the front and rear of each fletching. This is referred to as “tipping” and “tailing” and is used to prevent peeling of the vanes during normal use, especially with fast bows that may go through targets.
Conclusion
Wasn’t that easy? As you can see, fletching your own arrows can be quick and convenient with the use of an EZ fletch tool in eight east steps. Now you can save yourself time and money by fletching or repairing your arrows yourself, and have the satisfaction of building your own arrows. For related articles, check out other posts from Bowhunting Depot!